Drawing cooking tools and equipment involves capturing the essence of kitchens and culinary art. From knives to mixing bowls, each item has unique shapes and features that contribute to delicious creations.
How to draw a cooking tools and equipment
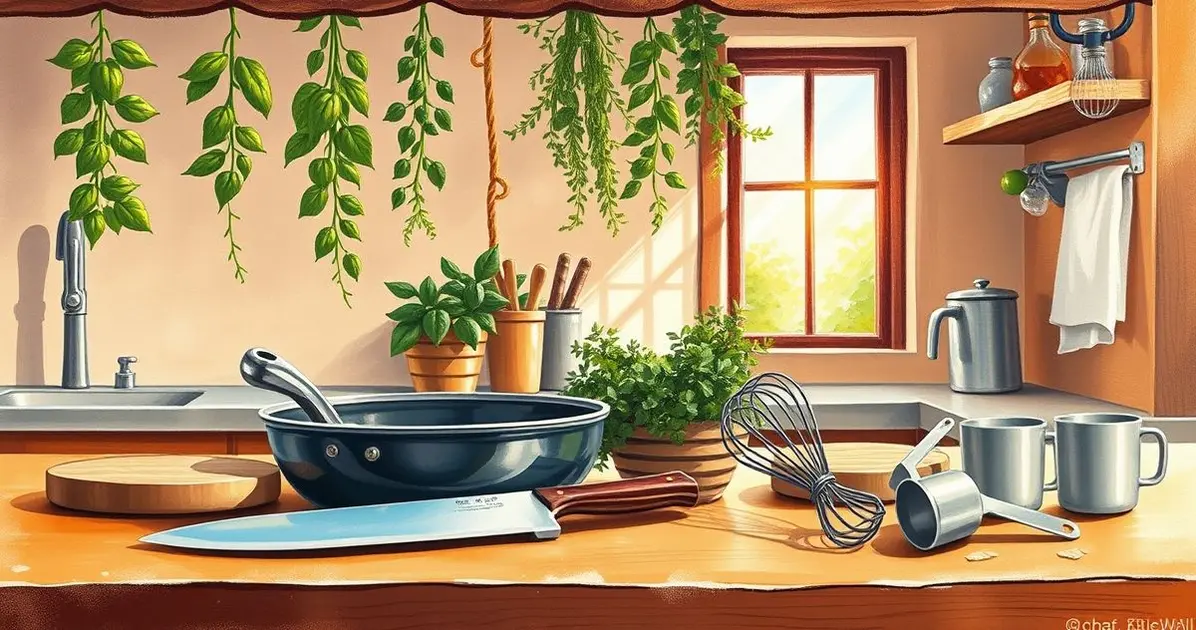
To effectively draw cooking tools and equipment, focus on their distinct shapes, textures, and uses. Observe real-life examples and practice sketching them in various angles to enhance both your drawing and culinary skills.
Understanding Shapes and Forms
Understanding shapes and forms is the foundation of drawing, especially when it comes to illustrating cooking tools and equipment. Here’s how to effectively grasp shapes and forms in your drawings:
1. Basic Geometric Shapes: Start by recognizing that most cooking tools can be broken down into basic geometric shapes:
- Cylinders: Pots and pans can be represented as cylinders. Practice drawing cylinders from different angles to understand their three-dimensional form.
- Rectangles and Squares: Use rectangles for cutting boards or the handles of utensils. Understanding how to draw these shapes will help in creating more complex objects.
- Circles and Ovals: Lids and bowls can be represented as circles or ovals. Practice sketching these shapes to get comfortable with their proportions.
2. Combining Shapes: Once you are comfortable with basic shapes, practice combining them to form more complex objects:
- Stacking Shapes: For a pot, stack a cylinder (the body) and an oval (the lid) to create a complete representation.
- Adding Details: Incorporate details like handles or spouts by adding more shapes, such as curves or rectangles, to your basic forms.
3. Observing Real Objects: To enhance your understanding of shapes and forms:
- Study Real Cooking Tools: Look at pots, pans, and utensils from different angles. Observe how they are constructed from basic shapes.
- Sketch from Life: Practice drawing cooking tools directly from observation. This helps you see the shapes and forms in real-life objects.
4. Perspective and Depth: Understanding how shapes appear in perspective is crucial for creating realistic drawings:
- Foreshortening: Learn how objects appear shorter when viewed from an angle. This technique is especially important for tools like spatulas or long knives.
- Vanishing Points: Use vanishing points to create depth in your drawings, helping to convey the three-dimensionality of your cooking tools.
5. Practice, Practice, Practice: The more you practice drawing shapes and forms, the more intuitive it will become. Set aside time to sketch different cooking tools, focusing on breaking them down into their basic shapes.
By mastering shapes and forms, you will build a strong foundation for your drawing skills, allowing you to create accurate and visually appealing illustrations of cooking tools and equipment. Understanding these concepts is key to elevating your artistic abilities!
Techniques for Capturing Perspective
Capturing perspective in your drawings is essential for creating a sense of depth and realism, especially when illustrating cooking tools and equipment. Here are some effective techniques for capturing perspective:
1. Understanding One-Point Perspective: One-point perspective is a technique where all lines converge at a single vanishing point on the horizon line. To practice this:
- Draw a horizon line: Start by drawing a horizontal line across your paper to represent the eye level.
- Identify the vanishing point: Place a point on the horizon line where all lines will converge. This point will help guide the direction of your objects.
- Draw objects: Create shapes (like pots or pans) that recede towards the vanishing point, ensuring that lines leading away from the viewer converge at this point.
2. Practicing Two-Point Perspective: Two-point perspective involves two vanishing points on the horizon line. This technique is useful for drawing objects at an angle:
- Draw a horizon line: Similar to one-point perspective, start with a horizon line.
- Place two vanishing points: Position two points on the horizon line, one on each end.
- Construct objects: Draw vertical lines for the height of the object, then connect the tops and bottoms of these lines to the two vanishing points to create the sides of the object.
3. Using Foreshortening: Foreshortening is a technique used to create the illusion of an object receding strongly into the distance:
- Draw objects shorter: When an object is viewed from a close angle, draw it shorter than its actual size to give the impression of depth. For example, a spatula held at an angle will appear shorter than if viewed from the side.
- Practice with different angles: Experiment with drawing cooking tools from various perspectives to understand how foreshortening affects their appearance.
4. Incorporating Overlapping Elements: Overlapping objects can enhance the perception of depth:
- Layer objects: When drawing multiple cooking tools, place some in front of others to create a sense of space. This technique helps the viewer understand which objects are closer and which are farther away.
- Adjust transparency: Make objects that are farther away lighter or less detailed to emphasize depth.
5. Using Reference Images: Studying reference images can help you understand how perspective works in real life:
- Analyze photos: Look at images of kitchens or cooking tools from different angles to see how perspective is captured.
- Sketch from references: Practice drawing tools from photographs to improve your understanding of perspective.
By mastering these techniques for capturing perspective, you will enhance the realism and depth of your drawings, allowing you to create more dynamic and engaging illustrations of cooking tools and equipment. Understanding perspective is key to elevating your artistic skills!
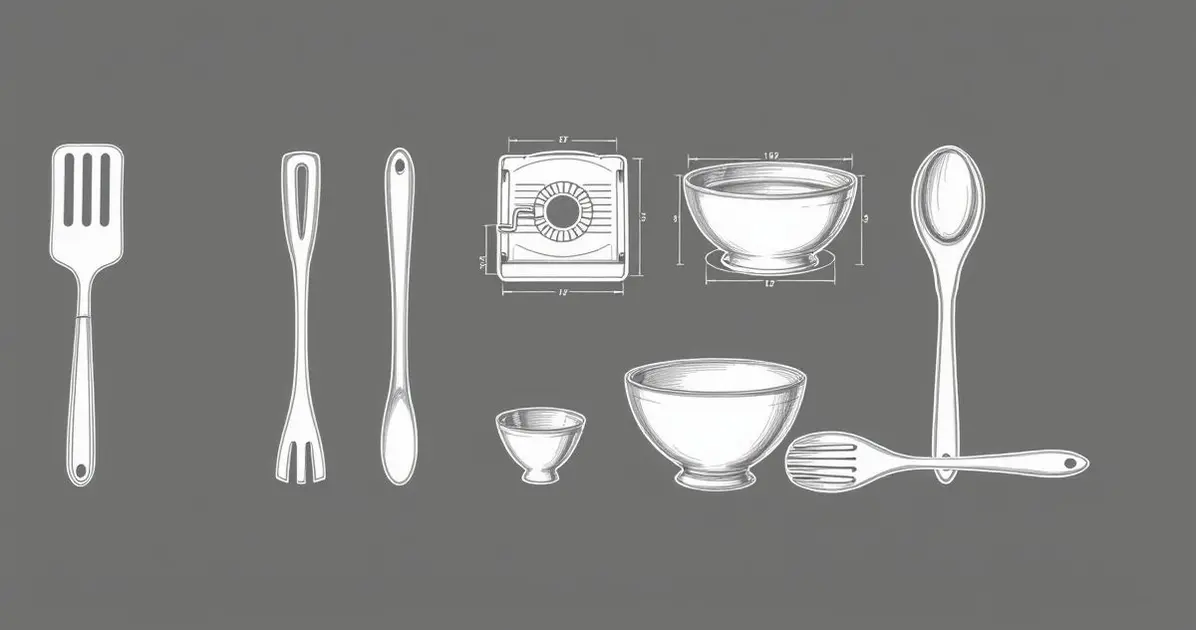
Shading and Texturing Your Drawings
Shading and texturing are essential techniques that add depth and realism to your drawings, particularly when illustrating cooking tools and equipment. Here’s how to effectively incorporate shading and texturing into your artwork:
1. Understanding Light Source: Before you begin shading, determine the direction of your light source:
- Identify the light source: Decide where the light is coming from in your drawing. This will influence where highlights and shadows fall on your objects.
- Visualize the impact: Consider how the light interacts with the shapes of the cooking tools. For example, a pot may have a shiny surface that reflects light, while a wooden spatula may have a more diffuse reflection.
2. Basic Shading Techniques: There are several techniques you can use to create effective shading:
- Hatching: Use parallel lines to create shading. The closer the lines are together, the darker the area will appear. This technique is great for adding depth to surfaces.
- Cross-Hatching: This involves layering intersecting lines to create darker areas. Cross-hatching can add complexity to your shading and enhance the texture of your objects.
- Blending: Use a blending stump or your finger to smooth out pencil strokes, creating a soft gradient effect. This technique works well for shiny surfaces, like metal pots, to simulate reflections.
3. Creating Texture: Different materials have unique textures, and capturing these can enhance the realism of your drawings:
- Wood Grain: For wooden utensils, use short, curved lines to depict the natural grain of the wood. Vary the pressure on your pencil to create lighter and darker areas, mimicking the texture of the wood.
- Metallic Surfaces: To depict shiny metal surfaces, focus on highlights and reflections. Leave areas white or lightly shaded to represent where light hits the surface, while using darker shades in the shadows.
- Fabric Textures: If illustrating items like aprons or oven mitts, use soft, curved lines to represent fabric folds and creases. Incorporate light and shadow to create depth.
4. Layering Shading: Build up layers of shading gradually:
- Start Light: Begin with light pressure on your pencil and gradually add darker layers as needed. This allows for greater control and prevents over-darkening.
- Adjust as You Go: Continuously assess your drawing as you add shading. Step back to see if the values are consistent and if the shading enhances the overall composition.
5. Practice and Experiment: The key to mastering shading and texturing is practice:
- Draw from Life: Use real cooking tools as references to practice your shading techniques. Observe how light interacts with the surfaces and textures.
- Experiment with Different Materials: Try shading with different tools, such as charcoal, colored pencils, or ink, to discover which methods you prefer and what works best for your style.
By effectively applying shading and texturing techniques, you can bring your drawings of cooking tools and equipment to life, adding depth and realism that enhances the overall visual impact of your artwork. These skills are essential for any artist looking to create compelling and engaging illustrations!
Tips for Adding Details to Cooking Tools
Adding details to your drawings of cooking tools is essential for enhancing realism and depth. Here are some effective tips for adding details to cooking tools:
1. Observe Real-Life Objects: Take time to study the actual cooking tools you want to draw. Pay attention to the small details, such as:
- Surface textures (e.g., the grain of wood or the shine of metal)
- Manufacturing marks or logos
- Wear and tear, such as scratches or dents
2. Start with Basic Shapes: Begin by sketching the basic shapes of the cooking tools. Once the foundation is in place, gradually build up the details:
- Use light pencil strokes to outline the basic form.
- Focus on adding details like handles, spouts, or lids before refining the overall shape.
3. Layering for Depth: Use layering to create depth in your drawings:
- Start with lighter details and gradually add darker lines and shading to create dimension.
- Use different pencil pressures to achieve varying levels of darkness and texture.
4. Highlight and Shadow: Incorporate highlights and shadows to emphasize the three-dimensionality of your cooking tools:
- Identify the light source and add highlights to areas where light hits the surface.
- Use shading techniques to create shadows in areas that are less exposed to light.
5. Add Textures: Textures can enhance the realism of your drawings:
- For wooden utensils, use short, curved lines to depict the grain.
- For metal tools, leave areas white or lightly shaded to represent reflections, while using darker shades for shadows.
6. Use Reference Images: Reference images can be invaluable when adding details:
- Look for high-quality photographs of cooking tools to guide your detailing process.
- Analyze how light interacts with the surfaces and how details are captured in the images.
7. Experiment with Different Techniques: Don’t be afraid to try out different techniques to see what works best for you:
- Use fine-tipped pens for intricate details or colored pencils for adding color and texture.
- Try different styles of shading and line work to find your unique artistic voice.
8. Practice Regularly: The more you practice adding details to your drawings, the better you will become:
- Set aside time to draw different cooking tools, focusing specifically on details.
- Challenge yourself to draw tools from various angles to improve your skills.
By following these tips for adding details to cooking tools, you can elevate your drawings and create more realistic and engaging illustrations. Attention to detail not only enhances the visual appeal of your artwork but also enriches your overall artistic experience!
Conclusion
In conclusion, mastering the techniques for drawing cooking tools and equipment is essential for any aspiring artist or culinary enthusiast. By understanding shapes and forms, capturing perspective, and employing effective shading and texturing methods, you can create realistic and engaging illustrations that celebrate the art of cooking.
Additionally, the right tools and techniques for adding details will enhance the quality of your drawings, allowing you to depict the unique characteristics of each cooking tool. Regular practice and observation of real-life objects will further refine your skills and boost your confidence in your artistic abilities.
Whether you are a beginner or an experienced artist, embracing these practices will help you unlock your creative potential and produce stunning artwork that showcases your love for cooking. Keep experimenting, stay inspired, and enjoy the process of bringing your culinary creations to life through art!
FAQ – Frequently Asked Questions about Drawing Cooking Tools
Ano ang mga pangunahing hakbang sa pag-drawing ng mga kagamitan sa pagluluto?
Ang mga pangunahing hakbang ay kinabibilangan ng pag-unawa sa mga hugis, paggamit ng tamang perspektibo, at pagdaragdag ng shading at texture.
Bakit mahalaga ang paggamit ng sharp knives sa pagluluto?
Ang sharp knives ay nagbibigay ng precision cutting, nagbabawas ng effort, at mas ligtas gamitin kumpara sa dull knives.
Paano ko mapapabuti ang aking kakayahan sa pag-drawing ng mga kagamitan sa pagluluto?
Magsanay nang regular, gumamit ng mga reference images, at pag-aralan ang mga tunay na kagamitan upang mapabuti ang iyong mga kasanayan.
Ano ang mga ligtas at natural na paraan ng paglilinis ng mga cooking tools?
Ang mga ligtas at natural na paraan ay kinabibilangan ng paggamit ng suka, baking soda, at lemon juice bilang mga disinfectant at cleaning agents.
Paano dapat itago ang mga kutsilyo at kawali pagkatapos gamitin?
Dapat itago ang mga kutsilyo sa knife block o magnetic strip at ang mga kawali sa isang maayos na paraan, gamit ang mga separator o liners.
Ano ang mga tips para sa tamang pag-iimbak ng mga cooking tools?
Siguraduhing tuyo ang mga kagamitan bago itago, gumamit ng tamang storage solutions, at regular na suriin ang mga ito para sa wear and tear.
See more
Discover plenty of easy and delicious recipes you can make at home, from hearty dinners to indulgent desserts and wholesome breakfasts.


