Cooking tools and equipment require proper cleaning and storage to maintain their longevity and functionality. This guide covers essential methods to keep your kitchen essentials in top shape.
How to clean and store cooking tools anf equipments

To ensure your cooking tools remain in great condition, regular cleaning with appropriate methods is vital. After washing, proper storage can help prevent damage and make your kitchen more organized and efficient.
Best Practices for Cleaning Different Materials
Different cooking tools and equipment are made from various materials, and each material requires specific cleaning methods to maintain their quality and longevity. Here are some best practices for cleaning different materials:
1. Stainless Steel: Stainless steel is durable and resistant to rust, but it can show fingerprints and stains. To clean stainless steel tools:
- Use warm, soapy water: Wash with a mixture of warm water and mild dish soap using a non-abrasive sponge.
- Remove tough stains: For stubborn stains, create a paste of baking soda and water, apply it to the stain, let it sit for a few minutes, then scrub gently.
- Dry immediately: Wipe down with a clean, dry cloth to prevent water spots.
2. Plastic: Plastic utensils and containers are easy to clean but can retain odors and stains. Follow these steps:
- Wash with warm, soapy water: Use a sponge or cloth to clean plastic items, rinsing thoroughly to remove soap residue.
- Deodorize: For odors, soak plastic items in a mixture of vinegar and water or use baking soda to neutralize smells.
- Avoid heat: Do not expose plastic items to high heat, as this can warp them.
3. Wood: Wooden utensils and cutting boards require special care to prevent damage:
- Hand wash only: Use warm, soapy water and a soft cloth to clean wooden items. Avoid soaking them in water to prevent warping.
- Dry immediately: Wipe dry with a clean towel to prevent moisture absorption, which can lead to warping or cracking.
- Condition regularly: Apply food-safe mineral oil periodically to keep wooden utensils moisturized and prevent drying out.
4. Silicone: Silicone tools are heat-resistant and easy to clean:
- Wash with warm, soapy water: Use a sponge or cloth to clean silicone items. They are generally dishwasher safe, but hand washing is recommended to preserve their quality.
- Remove stains: For stubborn stains, soak in a mixture of vinegar and baking soda before washing.
5. Glass: Glass utensils and containers are easy to clean and do not retain odors:
- Wash with warm, soapy water: Use a soft sponge to avoid scratches. Glass items are typically dishwasher safe.
- Remove hard water stains: Use a mixture of vinegar and water to remove hard water deposits and restore shine.
By following these best practices for cleaning different materials, you can ensure that your cooking tools and equipment remain in excellent condition, promoting hygiene and enhancing their longevity. Proper care tailored to each material type will help you maintain a safe and efficient kitchen environment!
Step-by-Step Cleaning Techniques
Cleaning your cooking tools and equipment effectively requires a systematic approach. Here are some step-by-step cleaning techniques to ensure your kitchen essentials are spotless and hygienic:
1. Gather Your Supplies: Before you begin, make sure you have the following items ready:
- Mild dish soap
- Warm water
- Non-abrasive sponges or cloths
- Baking soda (for tough stains)
- Vinegar (for disinfecting)
2. Rinse Immediately: After using your cooking tools, rinse them under warm water to remove any food particles. This prevents residue from hardening and makes the cleaning process easier.
3. Soak if Necessary: For pots and pans with stubborn food residue, fill them with warm, soapy water and let them soak for a few minutes. This helps loosen any stuck-on food, making it easier to clean.
4. Apply Cleaning Solution: For general cleaning, mix a few drops of mild dish soap with warm water. For tough stains, create a paste with baking soda and a little water. Apply the cleaning solution to the utensils and pots using a non-abrasive sponge or cloth.
5. Scrub Gently: Using the sponge or cloth, scrub the surfaces of the utensils and pots gently. For non-stick cookware, be extra cautious to avoid scratching the surface. Pay special attention to areas with stubborn stains or grease.
6. Rinse Thoroughly: Once you’ve cleaned the utensils and pots, rinse them thoroughly under warm running water to remove all soap and cleaning agents. Ensure there are no residues left behind, as this can affect the taste of your food.
7. Disinfect (Optional): For added hygiene, especially after handling raw meats, you can disinfect your utensils and pots by wiping them down with a solution of equal parts vinegar and water. Allow the solution to sit for a few minutes before rinsing again.
8. Dry Completely: After rinsing, dry your utensils and pots completely with a clean towel or let them air dry. Ensuring they are completely dry prevents moisture buildup, which can lead to rust or mold.
9. Store Properly: Once dry, store your utensils and pots in an organized manner. Use drawer organizers or utensil holders to keep them sorted and easily accessible.
By following these step-by-step cleaning techniques, you can ensure that your cooking tools and equipment are clean, hygienic, and ready for your next cooking adventure. Regular cleaning not only maintains hygiene but also enhances the longevity of your cooking tools!

Proper Washing, Drying, and Sanitizing Methods
Proper washing, drying, and sanitizing methods are crucial for maintaining the hygiene and longevity of your cooking tools and equipment. Here’s a detailed guide on how to effectively wash, dry, and sanitize your kitchen essentials:
1. Proper Washing Techniques:
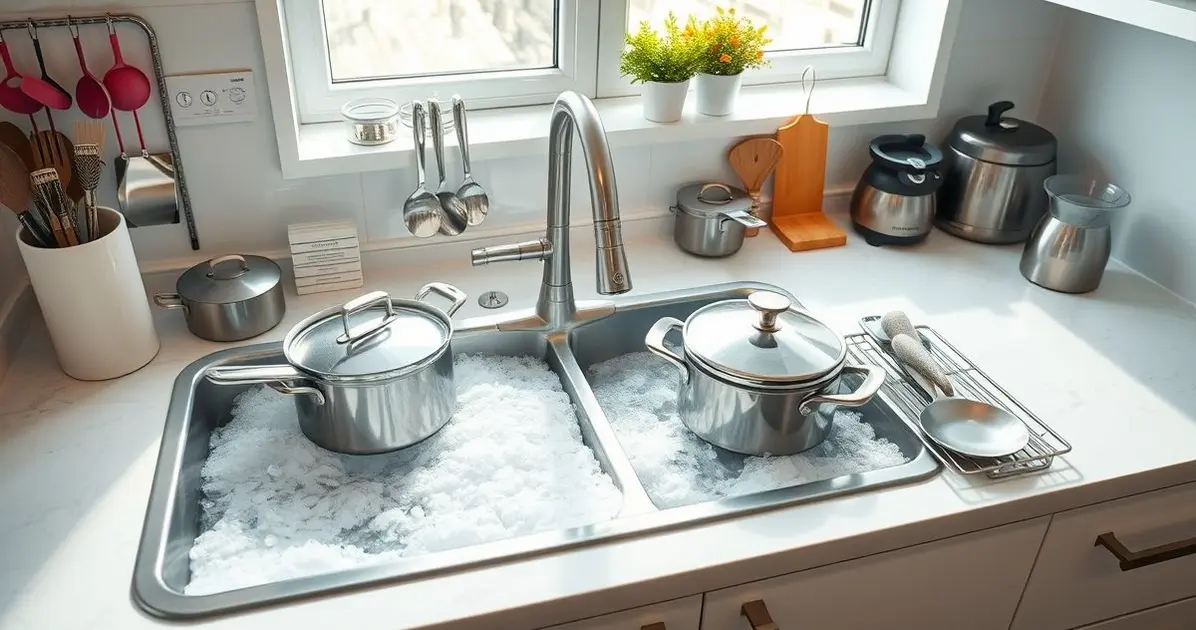
- Use Warm, Soapy Water: Fill your sink or a basin with warm water and add a few drops of mild dish soap. This solution is effective for removing grease and food particles.
- Scrub Gently: Use a non-abrasive sponge or cloth to scrub your utensils, pots, and pans. Pay special attention to areas with stuck-on food, using a gentle scrubbing motion to avoid damaging surfaces.
- Wash in Batches: If you have a lot of items to clean, wash them in batches to ensure thorough cleaning without overcrowding the sink.
2. Proper Drying Techniques:
- Air Drying: After washing, place items on a drying rack or a clean dish towel to air dry. Ensure they are spaced apart to allow air circulation, which helps prevent moisture buildup.
- Use a Clean Towel: For quicker drying, use a clean, lint-free towel to wipe down your utensils and pots. Make sure the towel is dry and free from any debris.
- Dry Knives Immediately: After washing knives, dry them immediately with a clean towel to prevent rust. Avoid letting them air dry, as moisture can damage the blade.
3. Proper Sanitizing Methods:
- Sanitize After Washing: After cleaning, sanitize your kitchen tools to eliminate any remaining bacteria. Use a solution of one tablespoon of unscented bleach mixed with one gallon of water for effective sanitization.
- Vinegar Solution: Alternatively, you can use a mixture of equal parts vinegar and water as a natural disinfectant. Spray this solution on the surfaces and allow it to sit for a few minutes before rinsing.
- Hydrogen Peroxide: For additional sanitizing, use a 3% hydrogen peroxide solution. Spray it on your utensils and surfaces, let it sit for a few minutes, and then rinse thoroughly.
4. Allow to Air Dry: After sanitizing, allow your tools to air dry completely to ensure that no moisture remains, which can lead to bacterial growth.
By following these proper washing, drying, and sanitizing methods, you can ensure that your cooking tools and equipment remain hygienic and in excellent condition. Consistent attention to these practices not only promotes food safety but also enhances the overall longevity of your kitchen essentials!
Practical Storage Solutions for an Organized Kitchen
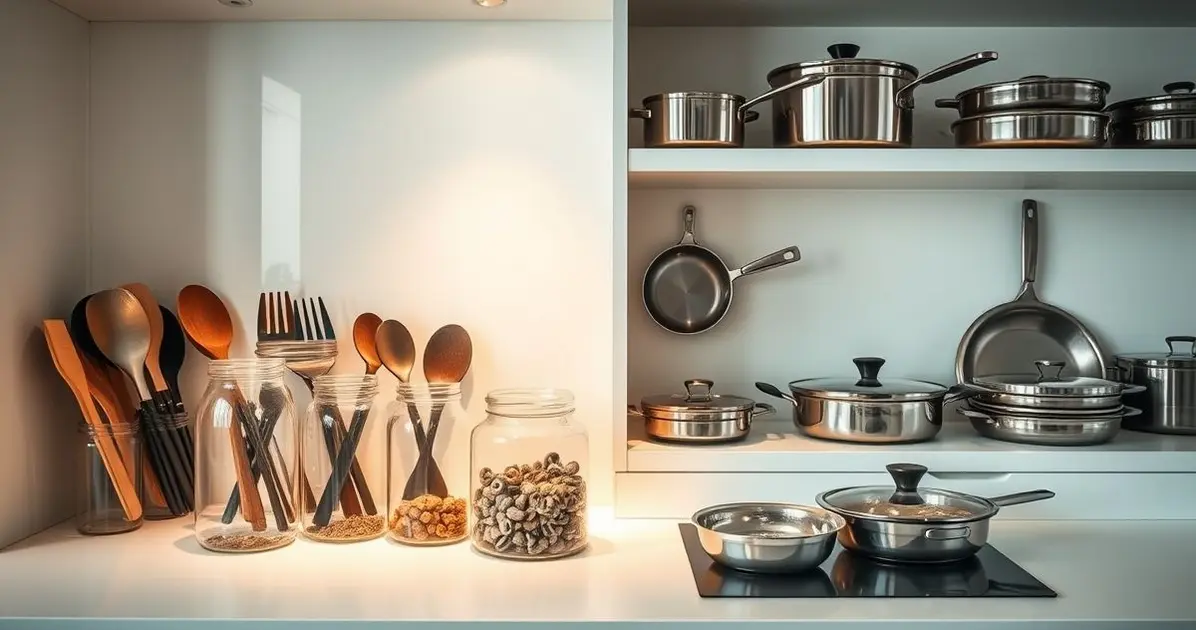
Keeping your kitchen organized is essential for efficiency and ease of cooking. Here are some practical storage solutions for an organized kitchen that will help maximize space and keep your cooking tools easily accessible:
1. Use Vertical Space: Take advantage of vertical space by installing shelves or cabinets that extend to the ceiling. Use the upper shelves for items that are used less frequently, while keeping everyday essentials within easy reach.
2. Drawer Organizers: Invest in drawer organizers to keep utensils, cutlery, and small tools neatly arranged. Dividers help prevent clutter and make it easier to find what you need quickly when cooking.
3. Magnetic Strips: Install magnetic strips on walls or inside cabinet doors to hold knives and metal utensils. This not only saves drawer space but also keeps your tools visible and easily accessible.
4. Hanging Racks: Use hanging racks or pot racks to store pots, pans, and cooking tools. This method frees up cabinet space and allows you to display your cookware as part of your kitchen decor.
5. Clear Storage Containers: Store dry ingredients like flour, sugar, and pasta in clear, labeled containers. This not only keeps your pantry organized but also makes it easy to see when supplies are running low.
6. Lazy Susans: Incorporate lazy Susans in cabinets or on countertops to easily access spices, condiments, or other small items. This rotating storage solution maximizes space and minimizes the need to reach into the back of cabinets.
7. Under-Sink Storage: Use tiered organizers or pull-out bins under the sink to store cleaning supplies and dish soap. This area is often underutilized, and effective organization can keep it tidy and functional.
8. Cabinet Door Storage: Utilize the inside of cabinet doors for additional storage. Install hooks or small racks to hold measuring spoons, pot lids, or spices, making use of often-overlooked space.
9. Stackable Bins: Use stackable bins to store similar items together, such as baking supplies or snacks. This method keeps items organized and allows you to utilize vertical space effectively.
10. Label Everything: Consider labeling storage containers, shelves, and drawers to make it easy for everyone in the household to find and return items to their proper places. This simple practice helps maintain organization and reduces clutter.
By implementing these practical storage solutions, you can significantly enhance the organization and efficiency of your kitchen. An organized kitchen not only makes cooking more enjoyable but also promotes a safer and more functional cooking environment!
Conclusion
In conclusion, maintaining a clean and organized kitchen is essential for ensuring food safety, enhancing cooking efficiency, and prolonging the life of your cooking tools and equipment.
By following effective cleaning techniques, utilizing safe and natural cleaning agents, and implementing proper drying and storage methods, you can create a hygienic and functional cooking environment.
Understanding the importance of appropriate cleaning methods and the right storage solutions will not only help you maximize space but also keep your kitchen tools easily accessible. Regular maintenance and organization are key to fostering a pleasant cooking experience.
By embracing these practices, whether you are a novice cook or a seasoned chef, you can elevate your culinary journey and enjoy a sparkling clean kitchen that inspires creativity and efficiency. Commit to these strategies to ensure that your kitchen remains a safe, organized, and enjoyable space for all your cooking needs!
FAQ – Frequently Asked Questions about Cleaning and Storing Cooking Tools
Bakit mahalaga ang tamang paglilinis at pag-iimbak ng mga kagamitan sa pagluluto?
Mahalaga ang tamang paglilinis at pag-iimbak upang mapanatili ang kaligtasan ng pagkain, maiwasan ang bakterya, at pahabain ang buhay ng mga kagamitan.
Ano ang mga ligtas at natural na paraan ng paglilinis ng mga cooking tools?
Ang mga ligtas at natural na paraan ay kinabibilangan ng paggamit ng suka, baking soda, at lemon juice bilang mga disinfectant at cleaning agents.
Paano dapat itago ang mga kutsilyo at kawali?
Dapat itago ang mga kutsilyo sa knife block o magnetic strip at ang mga kawali sa isang maayos na paraan, gamit ang mga separator o liners.
Gaano kadalas dapat linisin ang mga kagamitan sa pagluluto?
Dapat linisin ang mga kagamitan pagkatapos gamitin, at isagawa ang mas malalim na paglilinis nang lingguhan at buwanan.
Ano ang mga tips para sa tamang pag-iimbak ng mga cooking tools?
Siguraduhing tuyo ang mga kagamitan bago itago, gumamit ng tamang storage solutions, at regular na suriin ang mga ito para sa wear and tear.
Paano ko mapapanatiling malinis at maayos ang aking kusina?
Magsagawa ng regular na paglilinis, gumamit ng mga ligtas na cleaning agents, at sanayin ang lahat ng staff sa tamang mga pamamaraan ng paglilinis.
See more
Discover plenty of easy and delicious recipes you can make at home, from hearty dinners to indulgent desserts and wholesome breakfasts.


